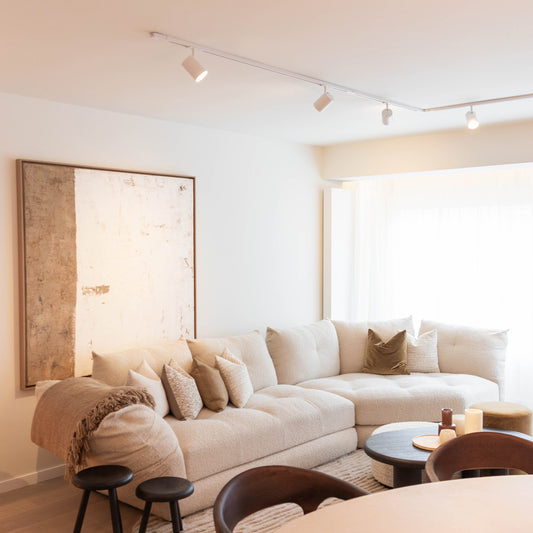
Track lighting
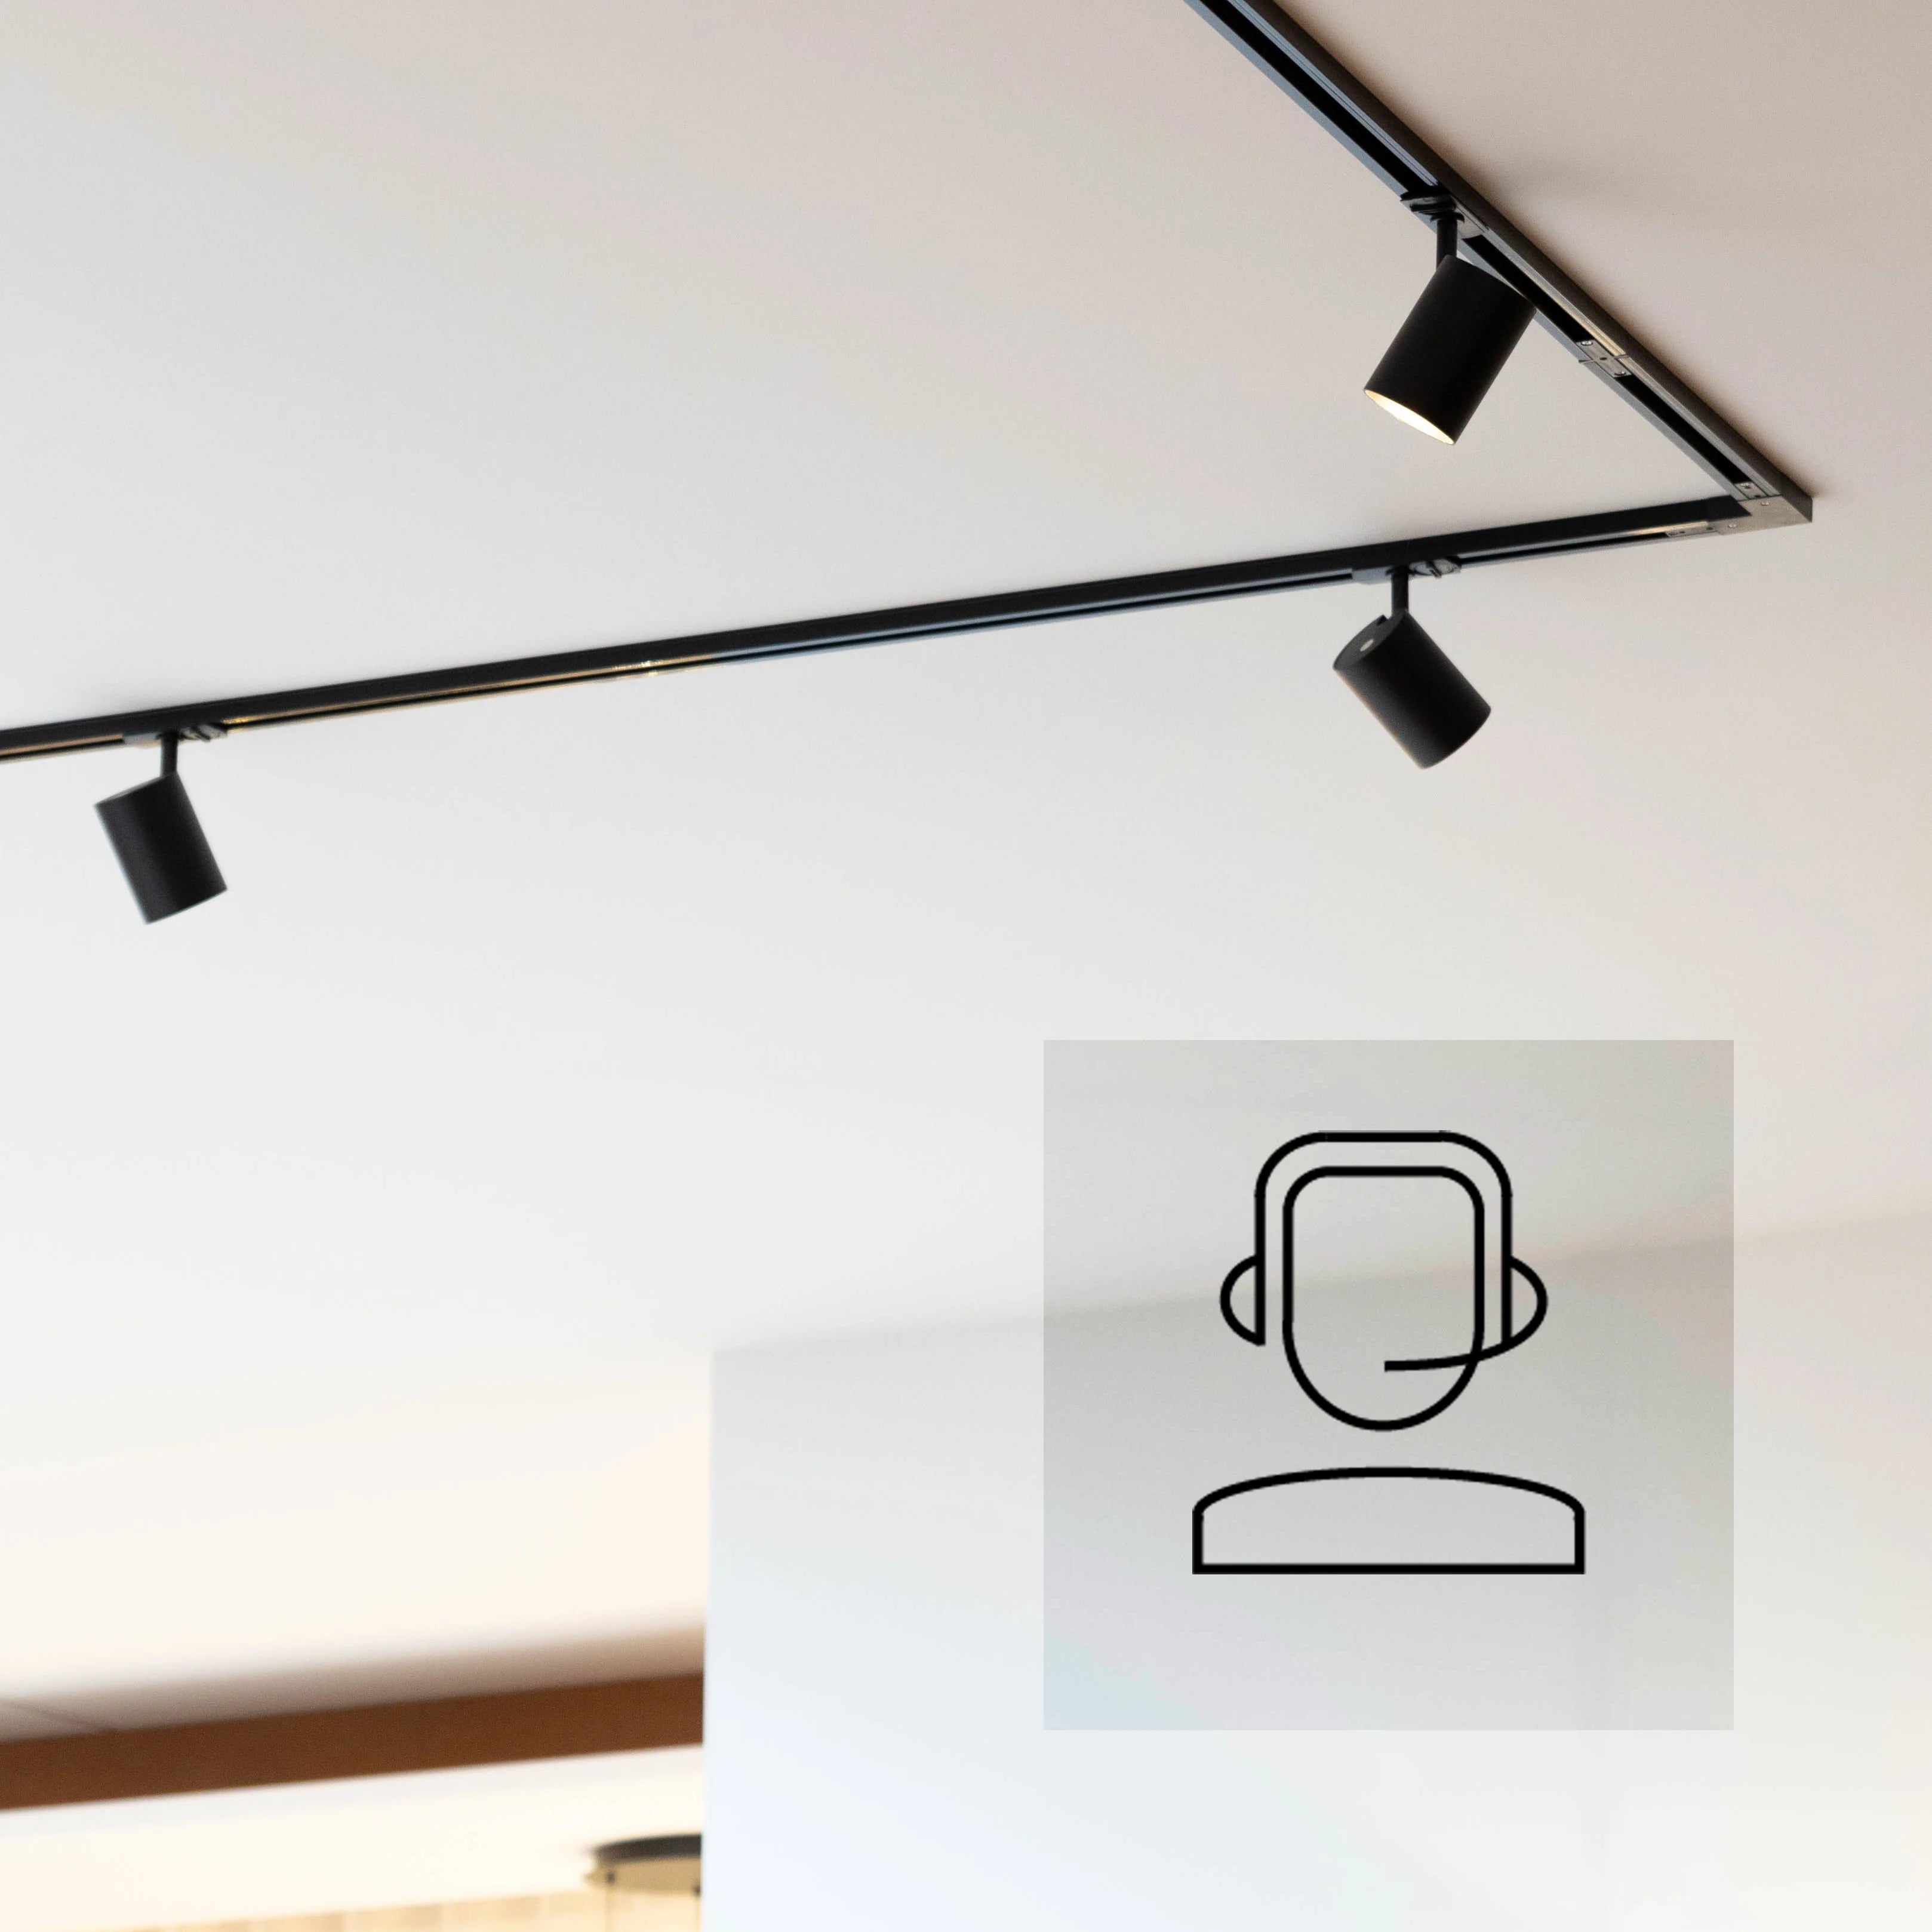
Track lighting is a hugely flexible modular lighting system that allows you to easily illuminate several areas with just a single electrical point of connection. A sequence of tracks is configured from this point of connection. The tracks can be connected in a straight line, at an angle or as a T-junction. This means every corner of the space can be illuminated.
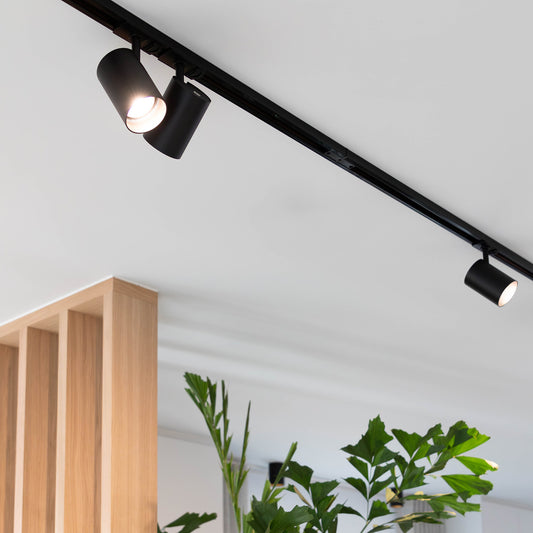
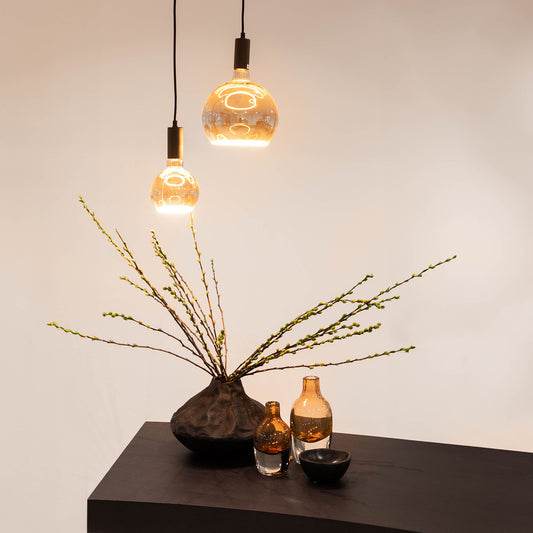
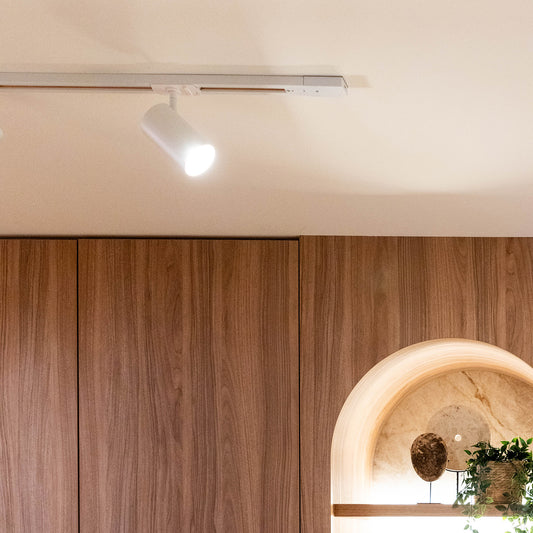
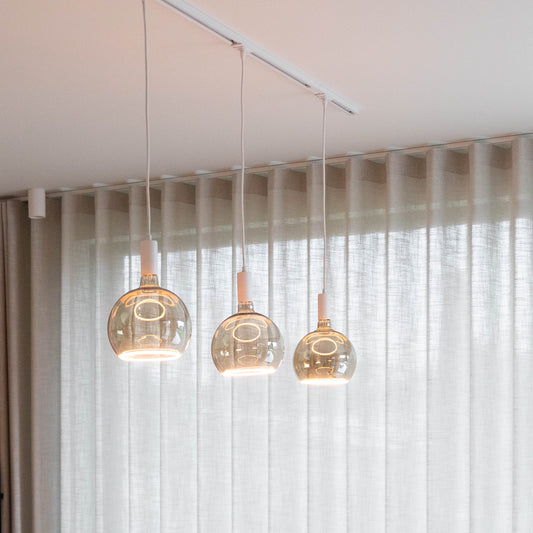
No cutting or chasing in required, as the tracks are mounted on the ceiling. The tracks can also be fitted with a pendant - useful for very high or uneven ceilings. The tracks can take as many spots as you want and each can be angled individually. It means important areas can be illuminated, such as a dining table, kitchen worktop, TV corner, painting or artwork. The possibilities are endless. Different light fitting can be attached to the track, such as pendants, using a connector.
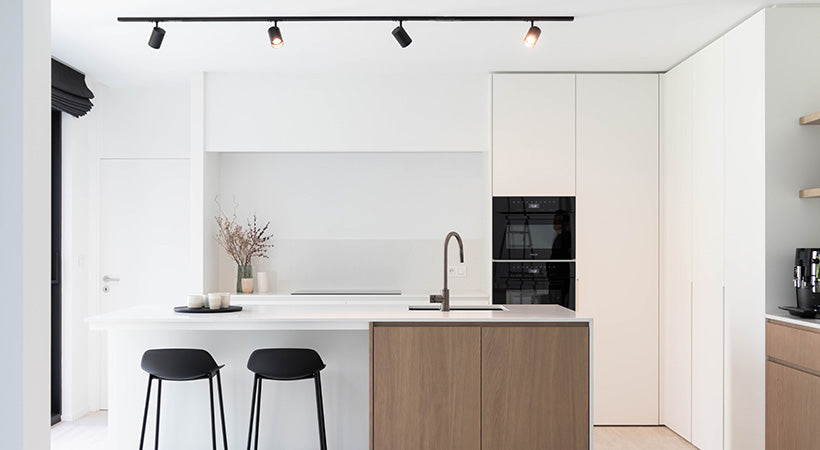
Track lighting suits any interior, from industrial to very minimalist.
Let’s get started! Configure your single-phase track lighting!
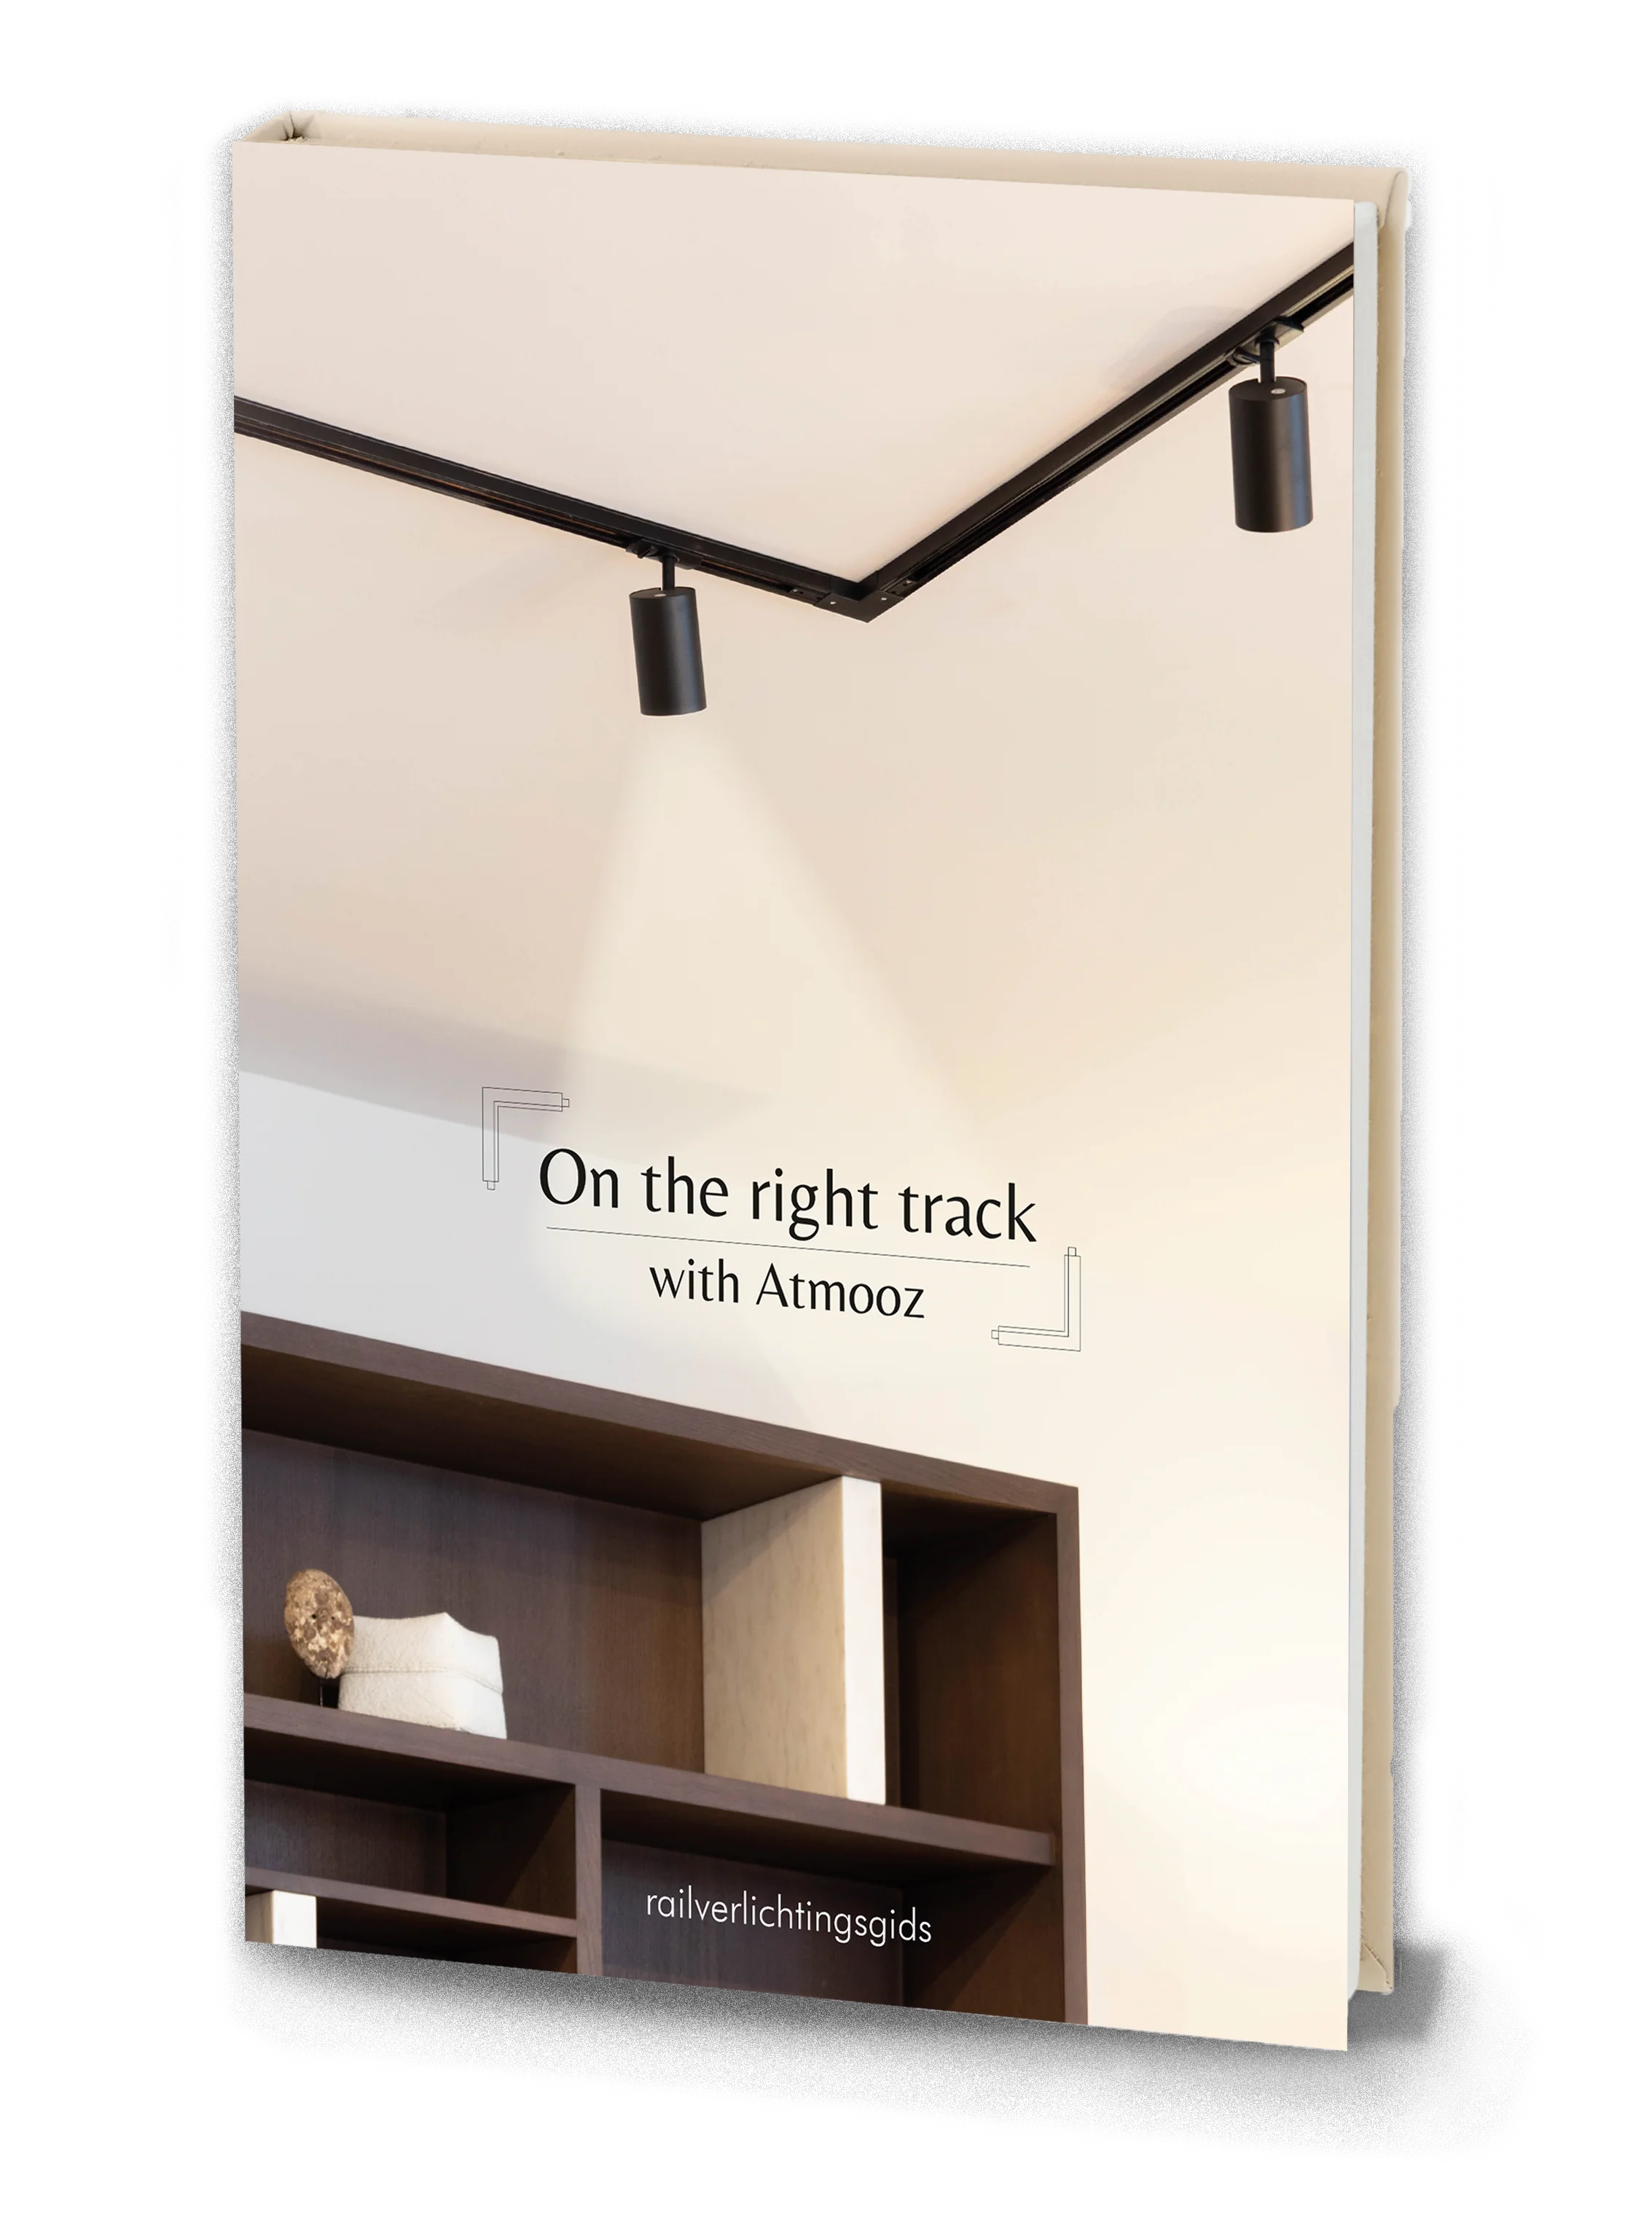
We recommend that you make a sketch of the configuration you want. To do this, it is handy to know exactly what components make up track lighting. Download our Track Lighting guide below for a full overview and explanation. Once your sketch is ready, the lighting experts from our Track Lighting Service will look at the best side for the earthing. Once this is complete, you can add the number of tracks, power supply, connectors, and spots in three easy steps.
Where is the earthing?
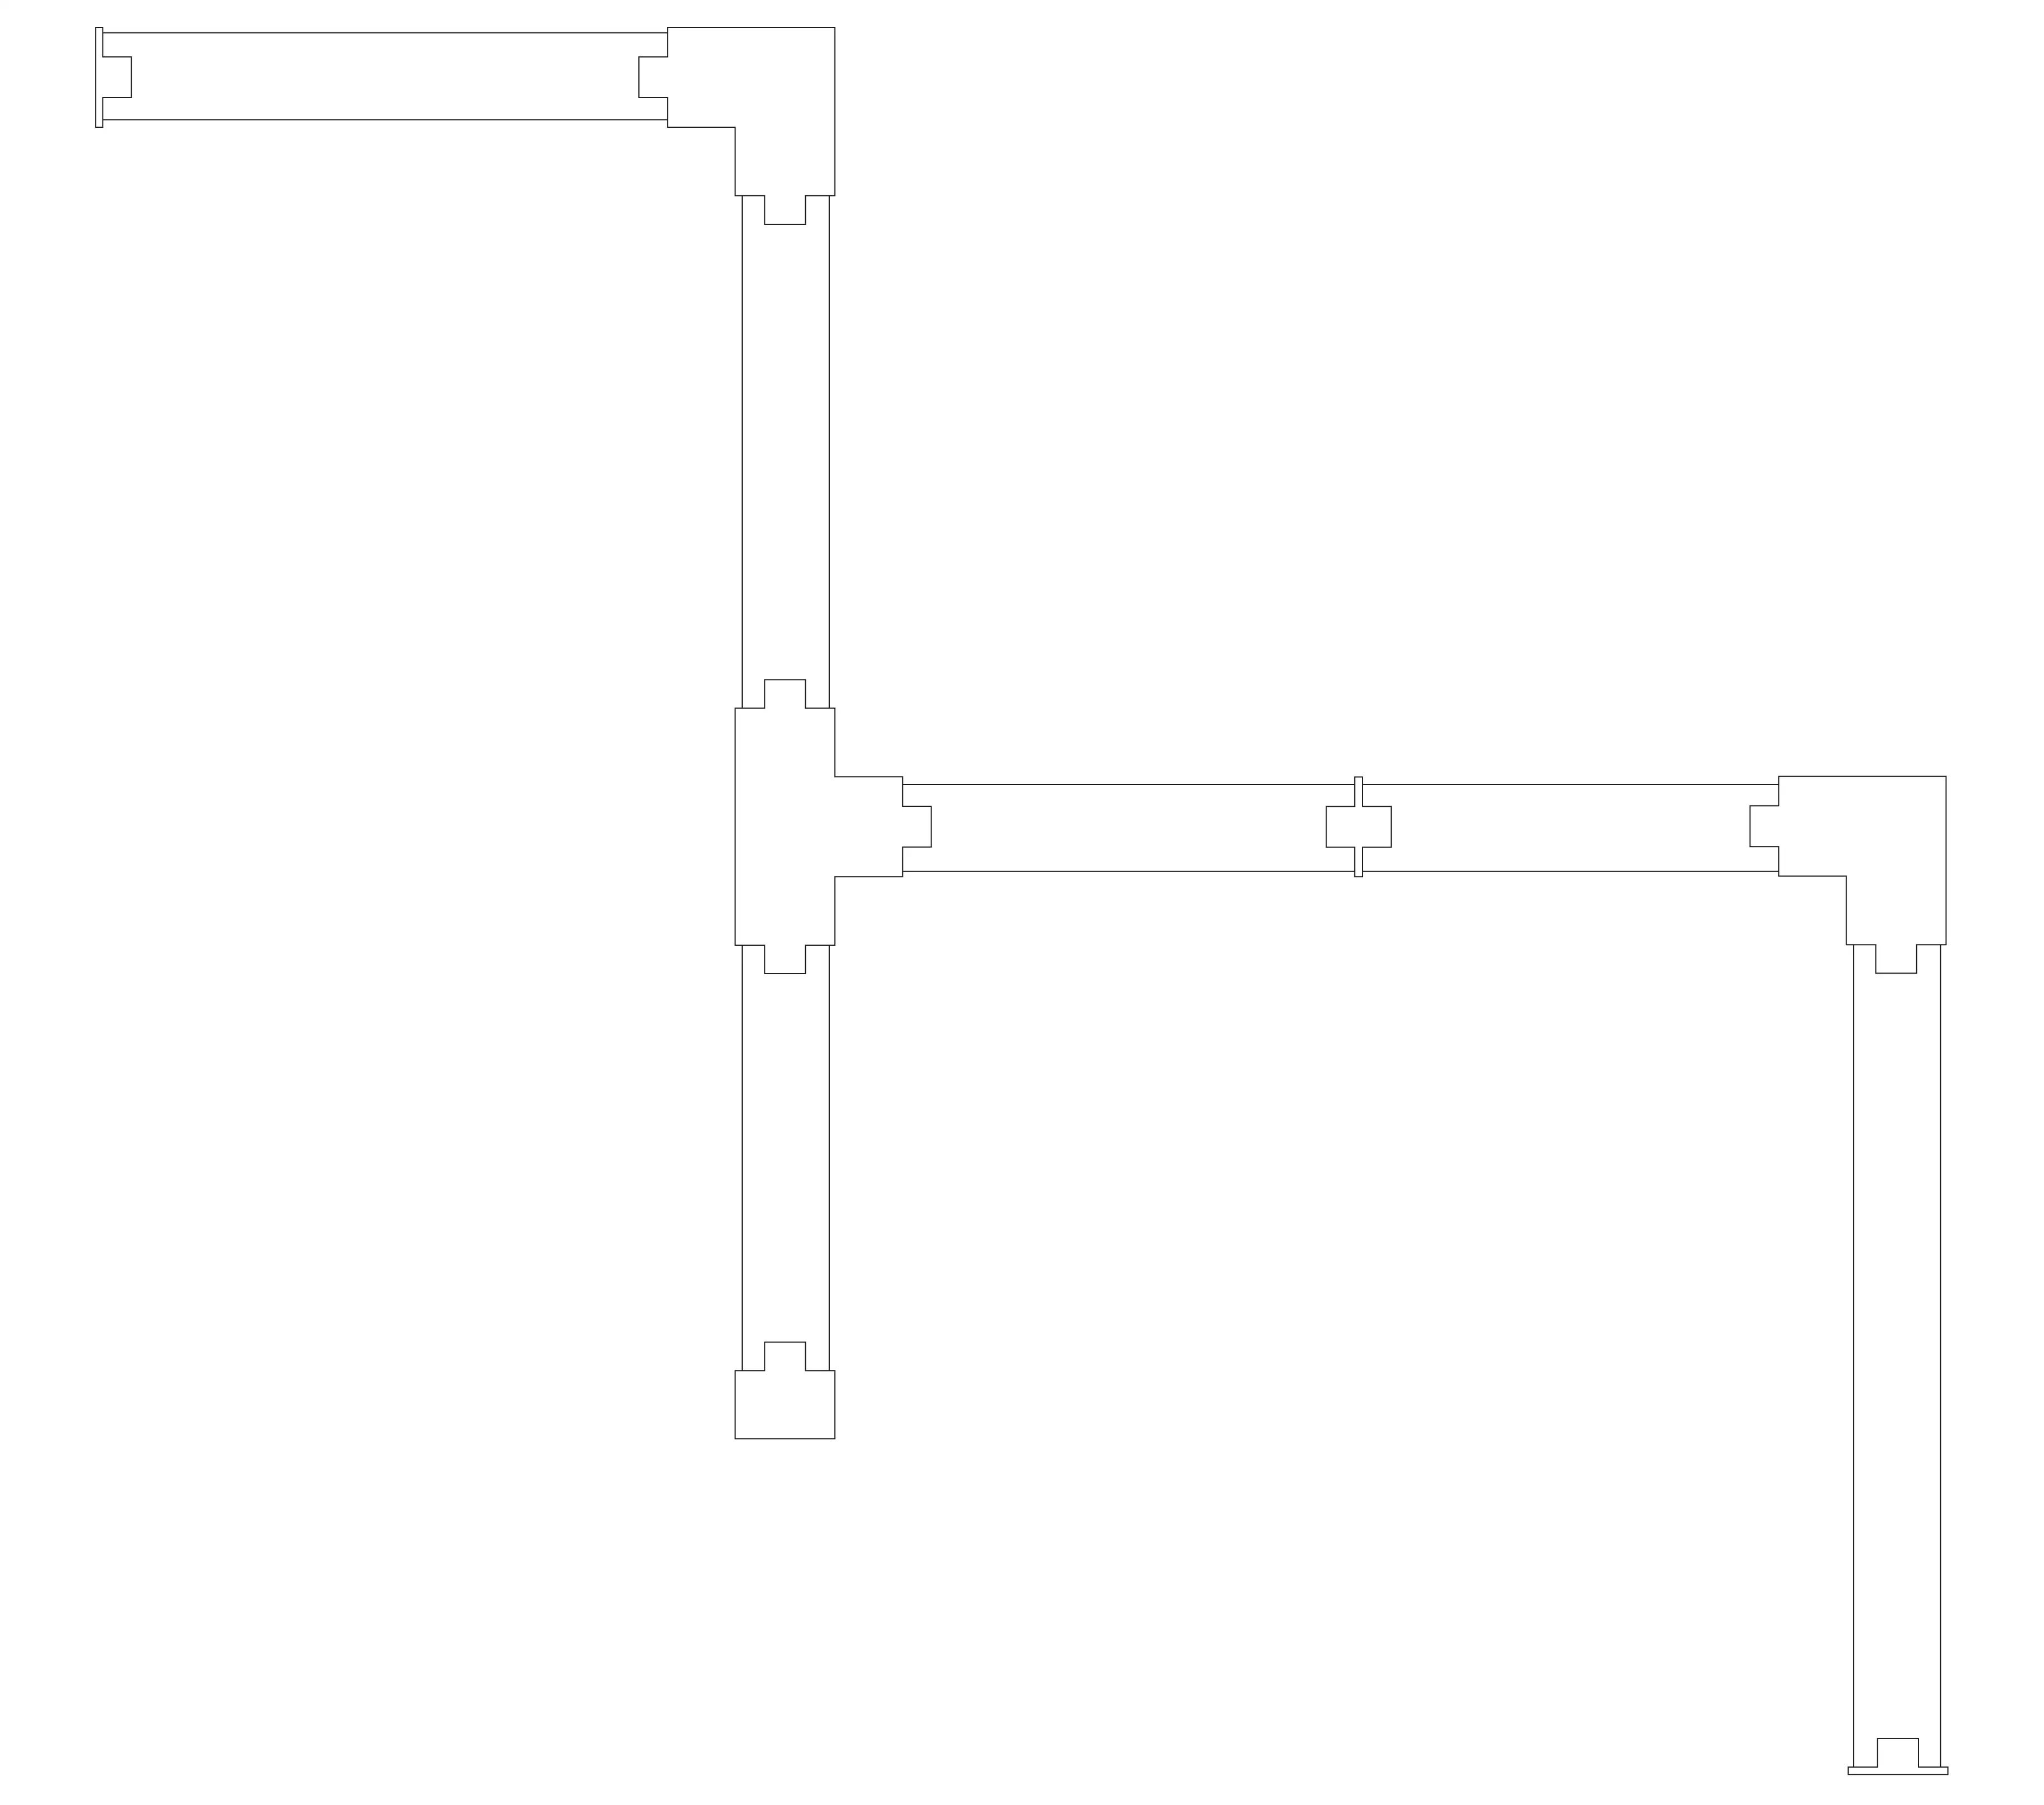
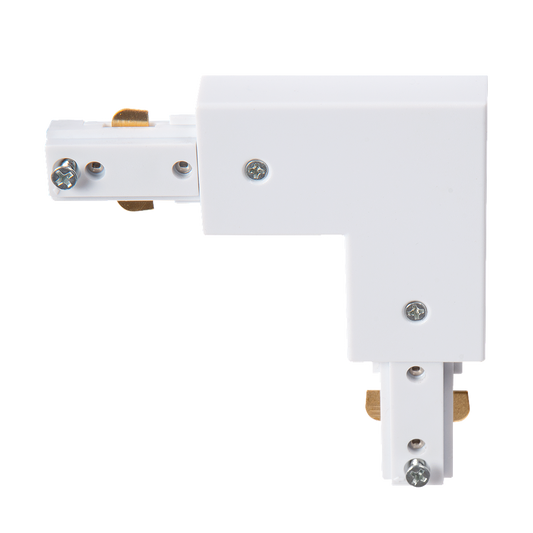
All the components of a track lighting system contain conductors and earthing. The earthing is on one side of the track, and that’s why it is important to know which side the earthing is on in your configuration. You should take this into account right from the start, when deciding on your configuration, to make sure you order the right components. This is especially important for the L-shape and T-split connectors. When configuring a straight track without angles, you do not need to take earthing into account.
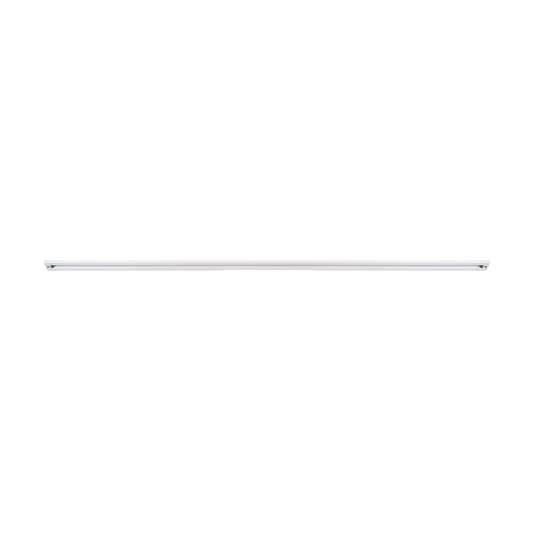
Step 1: Choose your track and power supply
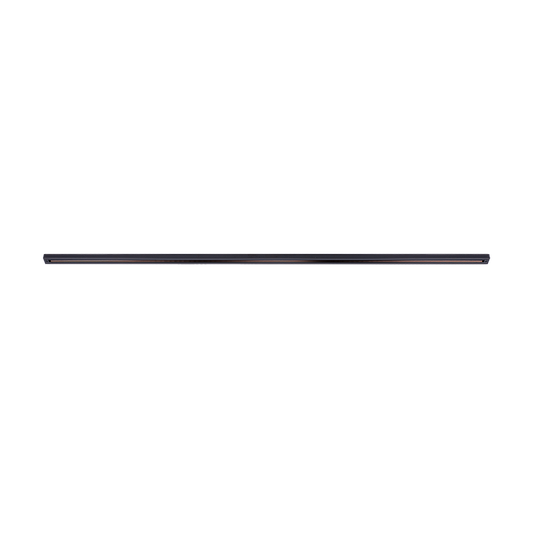
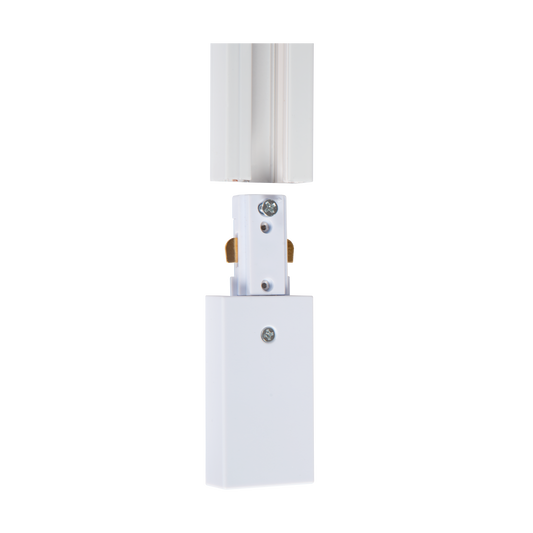
Each track measures 143 cm without spacers or end cap. One end cap is fitted to the end of a configuration. This end cap is included as standard and should not be ordered separately. A track can be shortened to a size of your choice using a hacksaw. Each rail has earthing on one side. Choose the power supply accordingly. There is no need to take this into account in case of a ‘double feed’. For a single feed, you have to choose whether the earthing should be on the left or on the right.

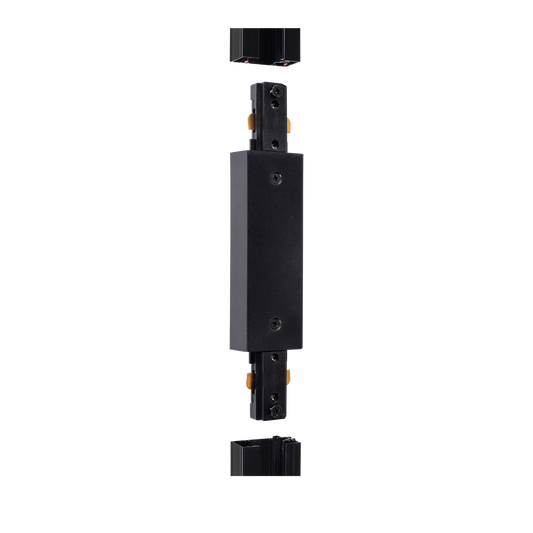

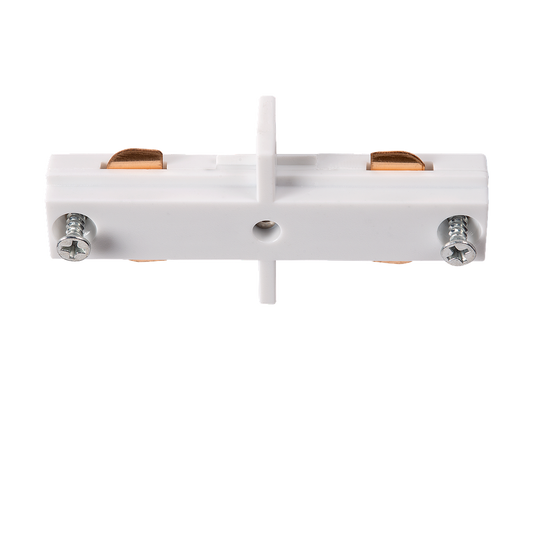
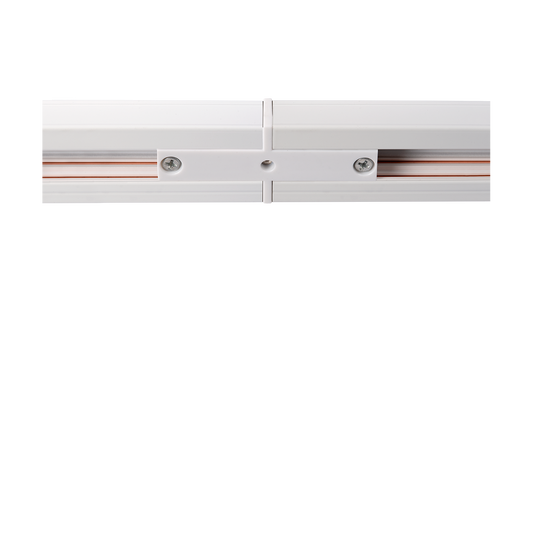
Step 2: Connect the tracks using connectors
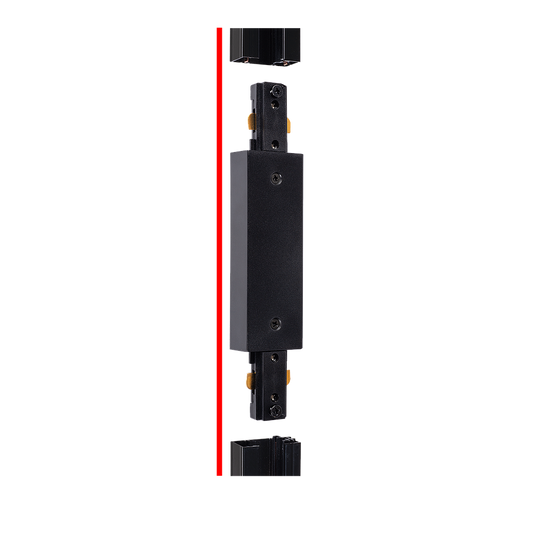
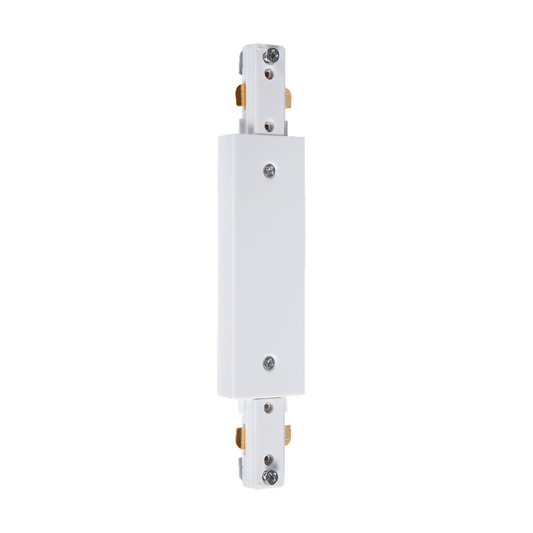
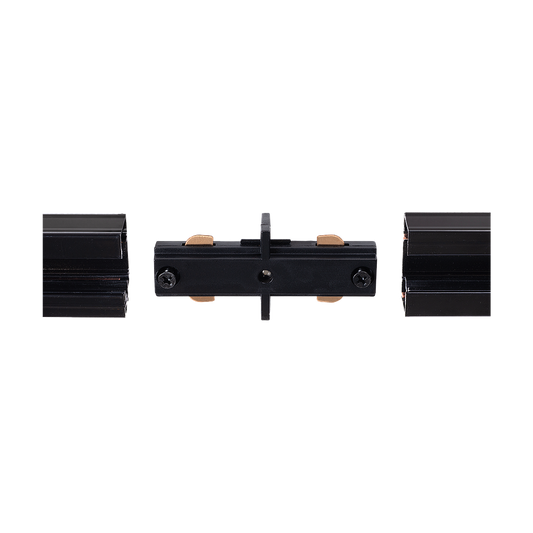
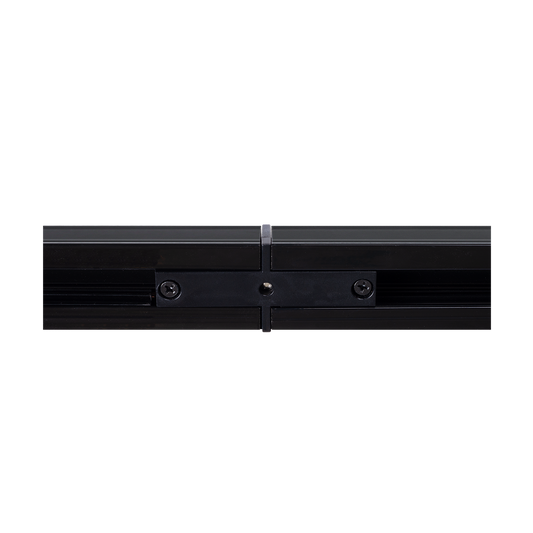
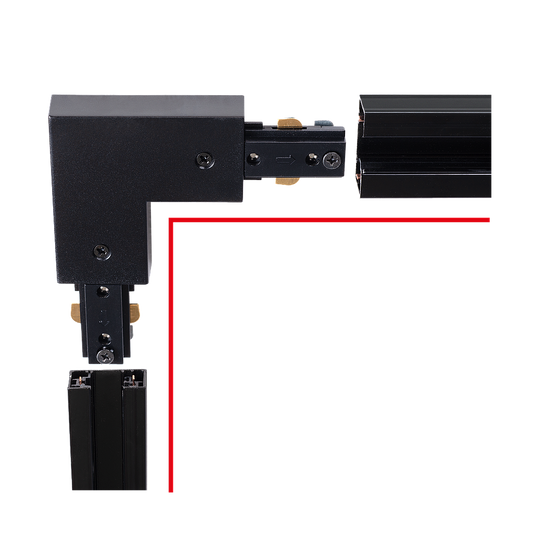
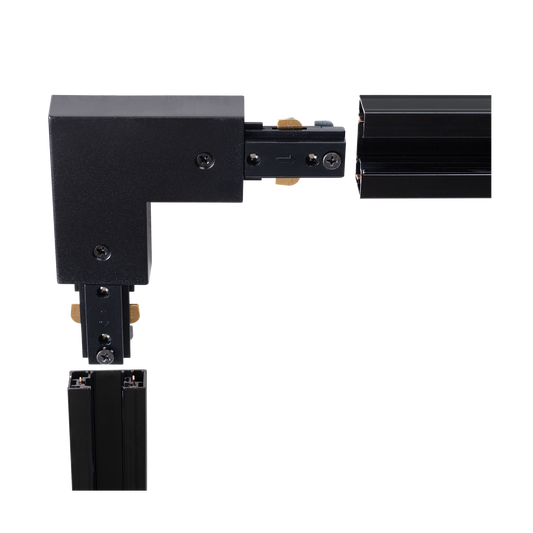
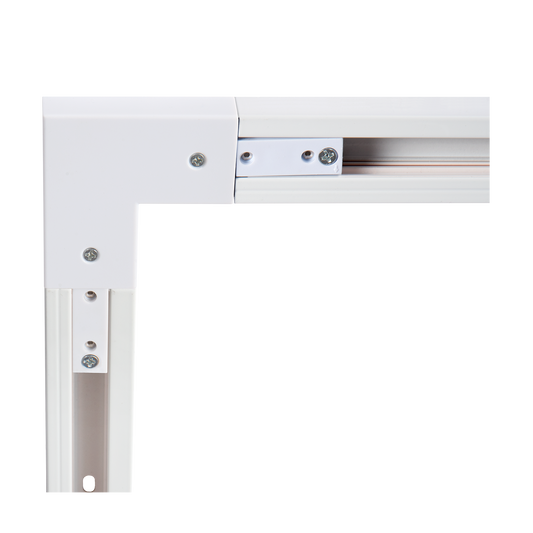
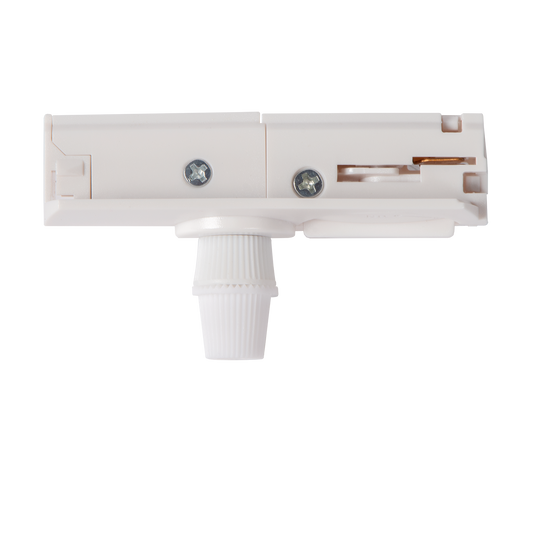
This second step describes how to connect the rails with the connectors. The most common connectors are ‘straight’ or L-shaped. A ‘straight’ connector is used to connect two tracks in a straight line. This connector will increase your configuration by 0.5 cm. Use L-shape connectors for creating a 90-degree corner to the left or to the right. There are two types of L-shape connectors: outside & inside. One of these is needed, depending on how your earthing runs. An L-shape connector adds 7 cm on each side of your configuration.
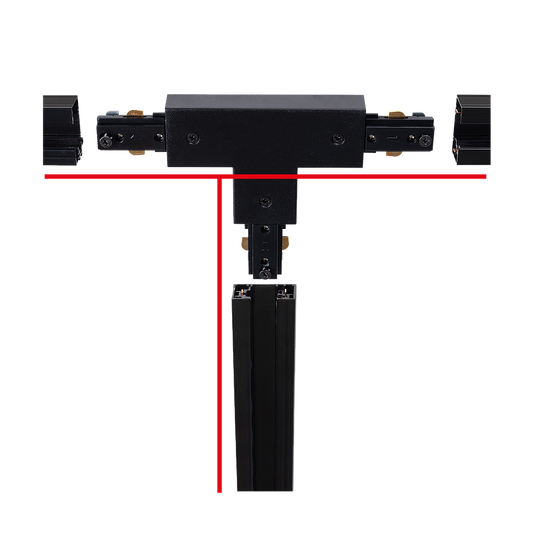
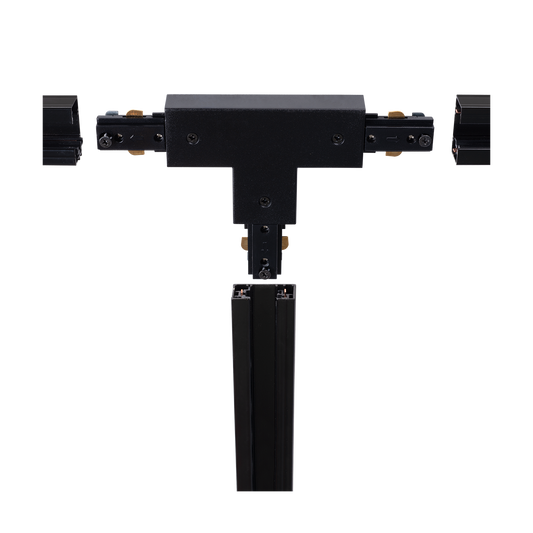
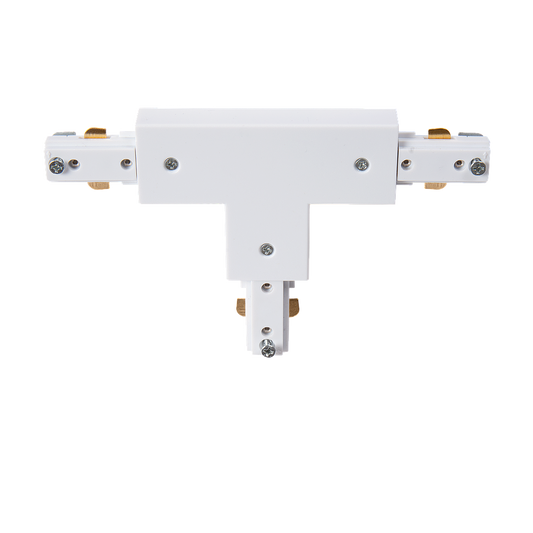
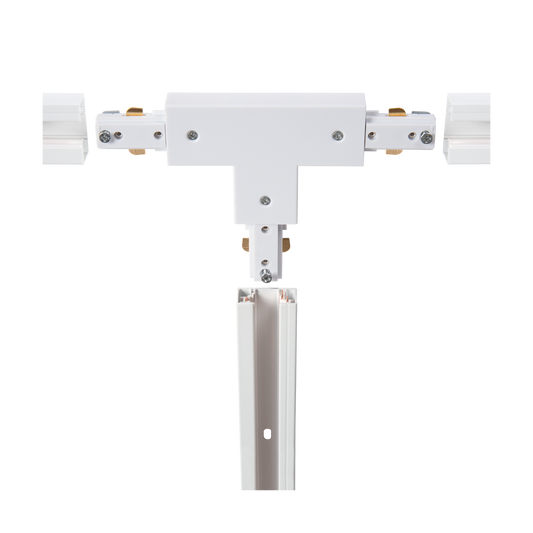
Use T-split connectors for splitting a track into two sections. Depending on how the earthing runs, one of the following four components is needed: T-split: A, B, C, or D. T-split connectors seem complicated due to the different earthing types. This is more simple if only 1 T-split is used. Depending on the earthing being on the left or the right on the leg of the T, either type A or B are used. Type C and D are only used in more complex and larger configurations with several T splits.
Step 3: Choose the number of spots and/or adaptors
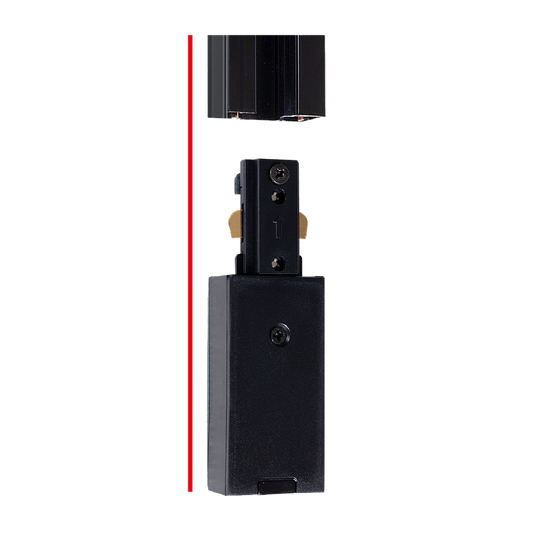
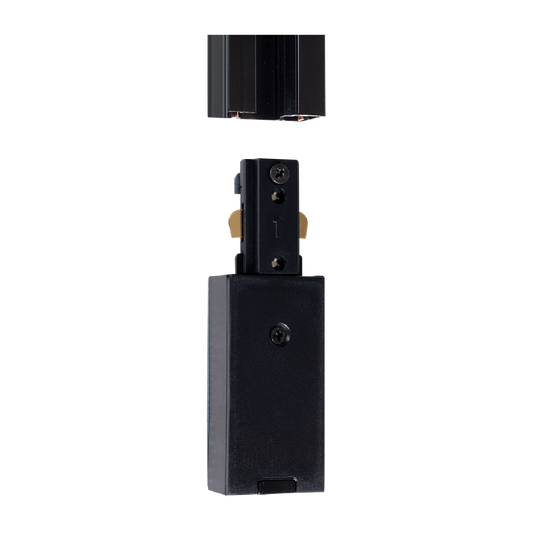
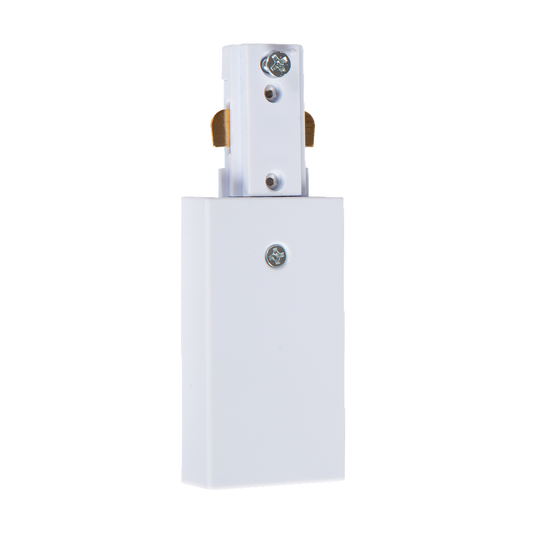
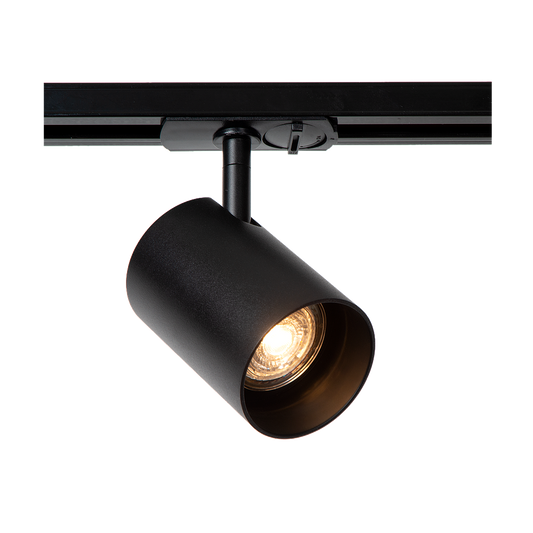
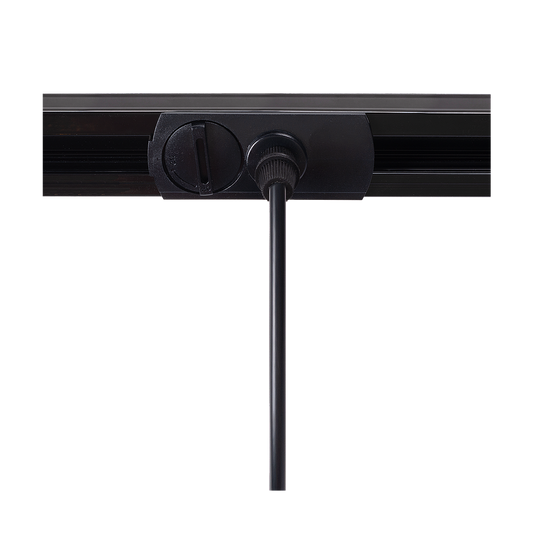
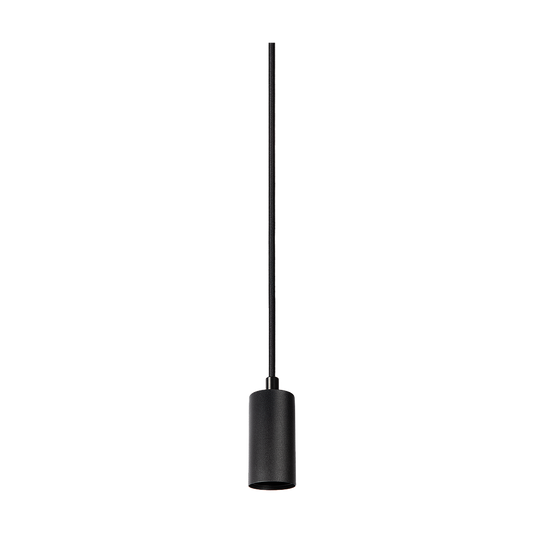
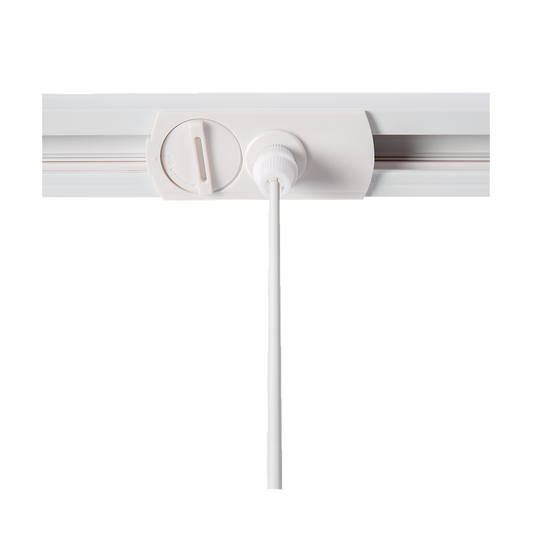
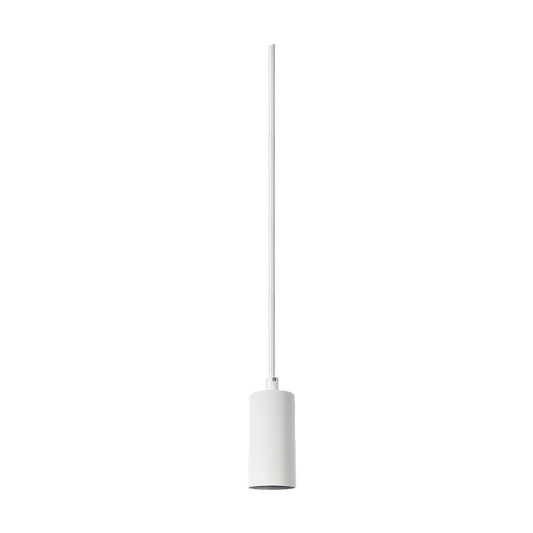
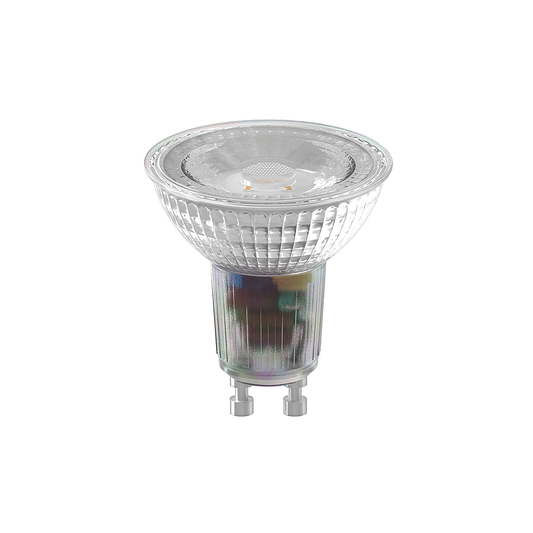
Spots can be added to a track. The spots require GU10 light bulbs (not included). This always depends on the desired brightness and whether or not they should have a dimmer function. Each configuration can carry a load of no more than 1500 watts. For example, if your spots consume 5W, you could add 300 spots. The spotlight has a diameter of 6.5 cm and is 10 cm high. Are you looking to add a pendant to a track? This is possible with the use of an adaptor. The adaptor is clicked onto the rail. First, the pendant’s power cable must be connected to the adaptor. For this reason, our adapters do not come with a separate cable. Please note there is a restriction on the light fitting’s weight.

Track lighting installation
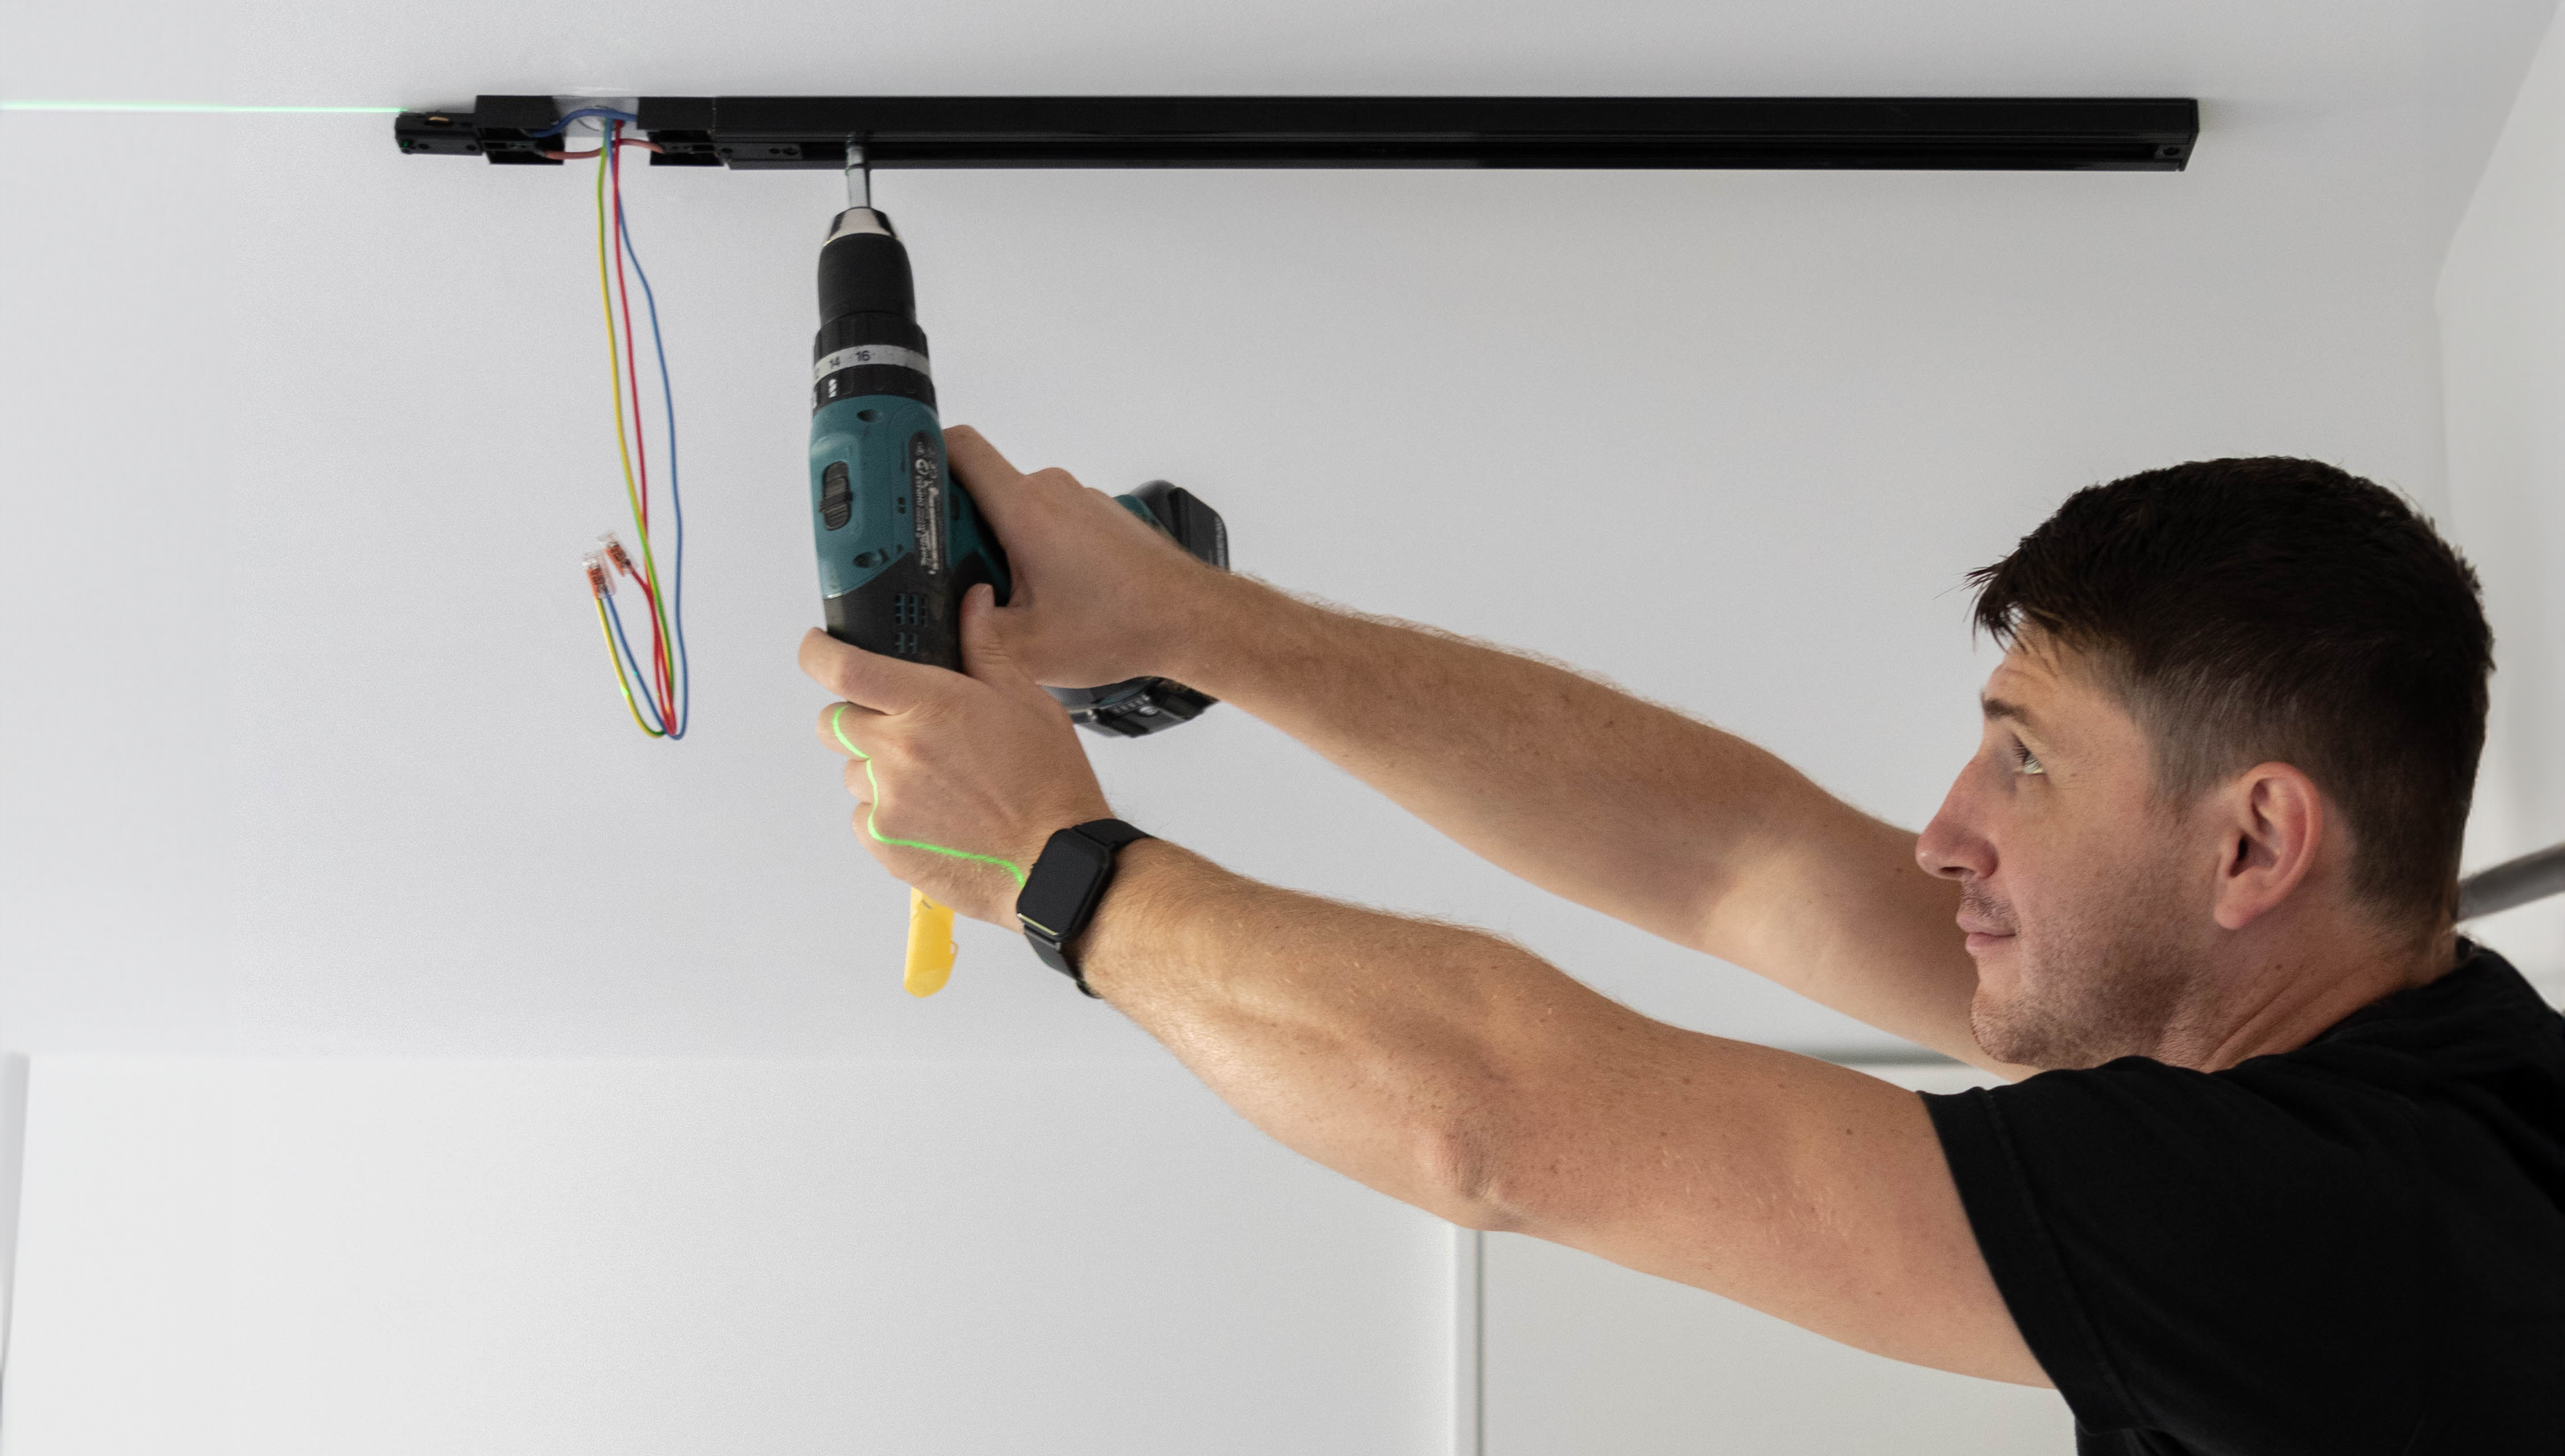
Remove all components from the box and place them on the floor. Please remember to place the earthing on the correct side. Follow your sketch and bear in mind this is a top view. Always start with power supply installation and remember to turn off the power. To make sure the tracks are positioned in the right direction, connect the power to the first track.
On the right track: do it yourself
-
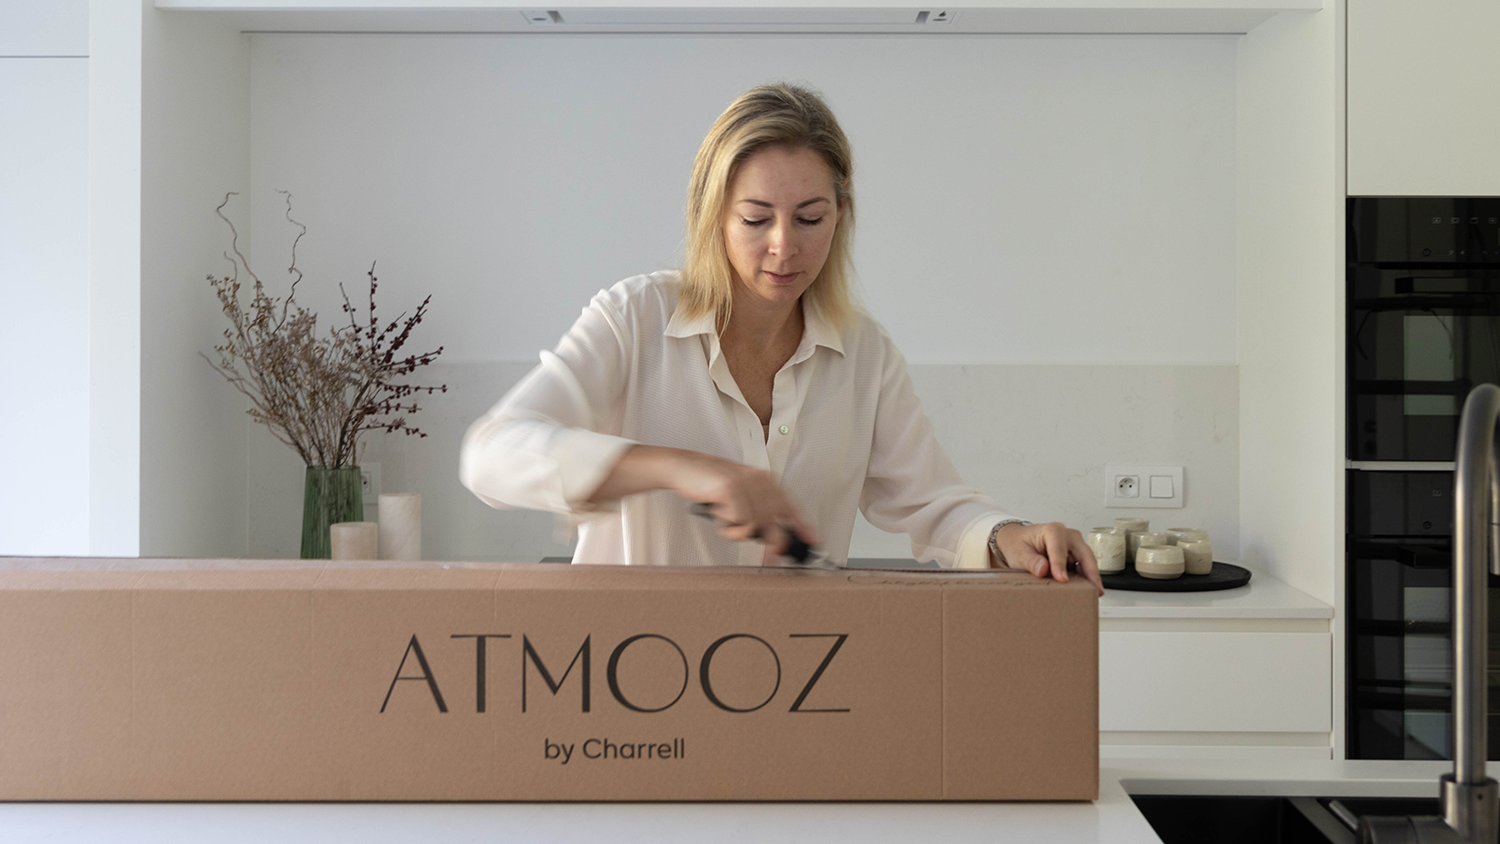
Unboxing
We will show you how to unbox and install track lighting in your home or office. Track lighting is a versatile and customizable way to illuminate any space with style and functionality.
-
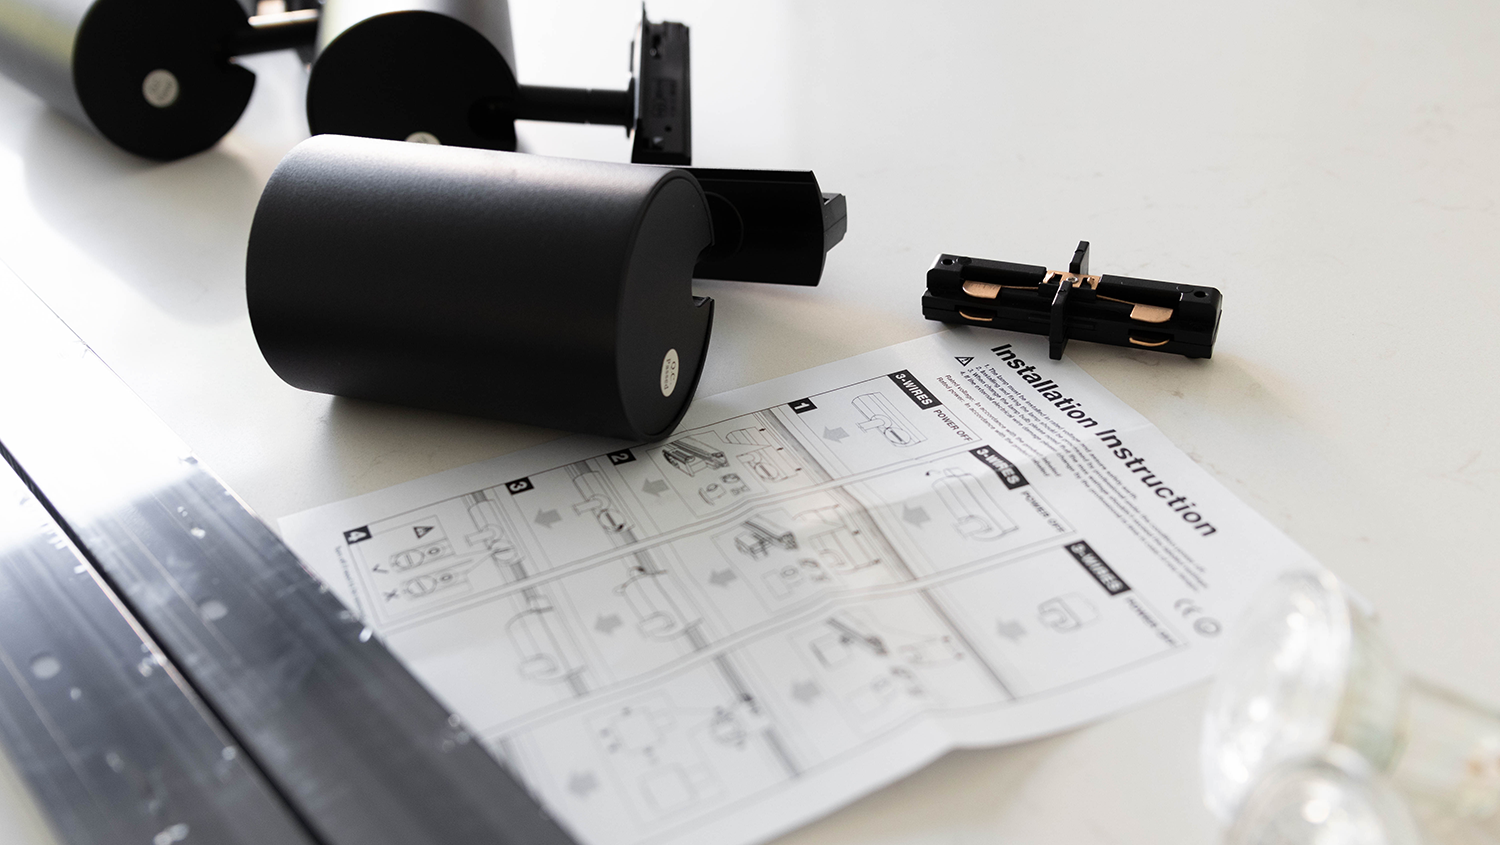
Instruction
Installing track lighting is not very difficult, but it does require some basic electrical skills and tools. You will need a few hours of your time to complete this project.
-
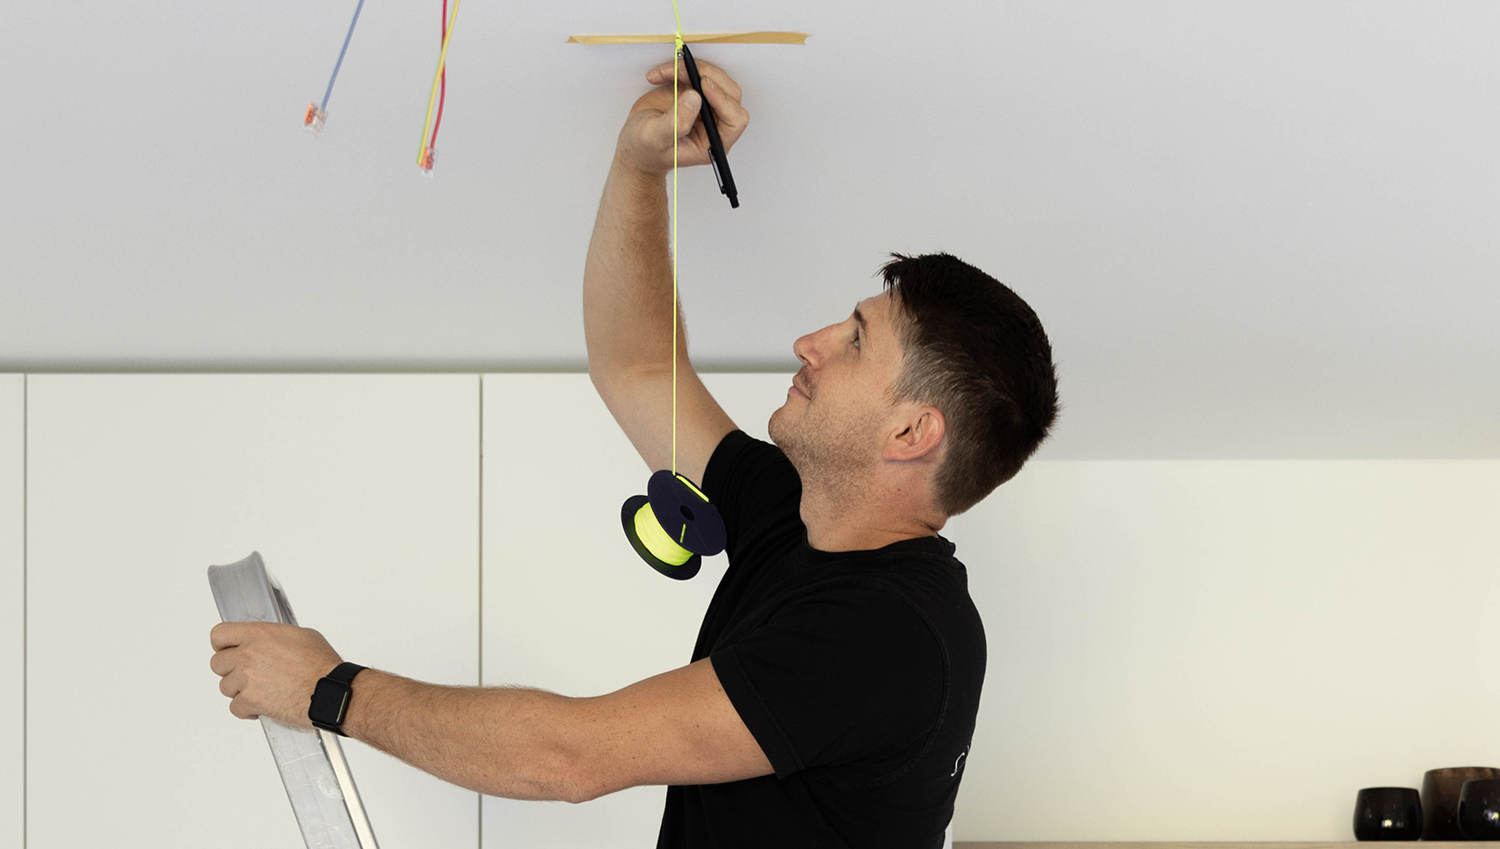
Preparation
Choose a location and layout for your track. Make sure the track is long enough to cover the area you want to light up, and that it has enough fixtures for your needs. Mark the position of the track with a pencil. Use a level to make sure it is straight and aligned with the rest of the room.
-
Installation
Drill pilot holes for the mounting screws along the track. Use anchors if you are drilling into drywall or plaster. Attach the track to the ceiling with the attached screws. Make sure it is secure and stable. Connect the wires from the track to the wires from the ceiling.
-
Finishing touch
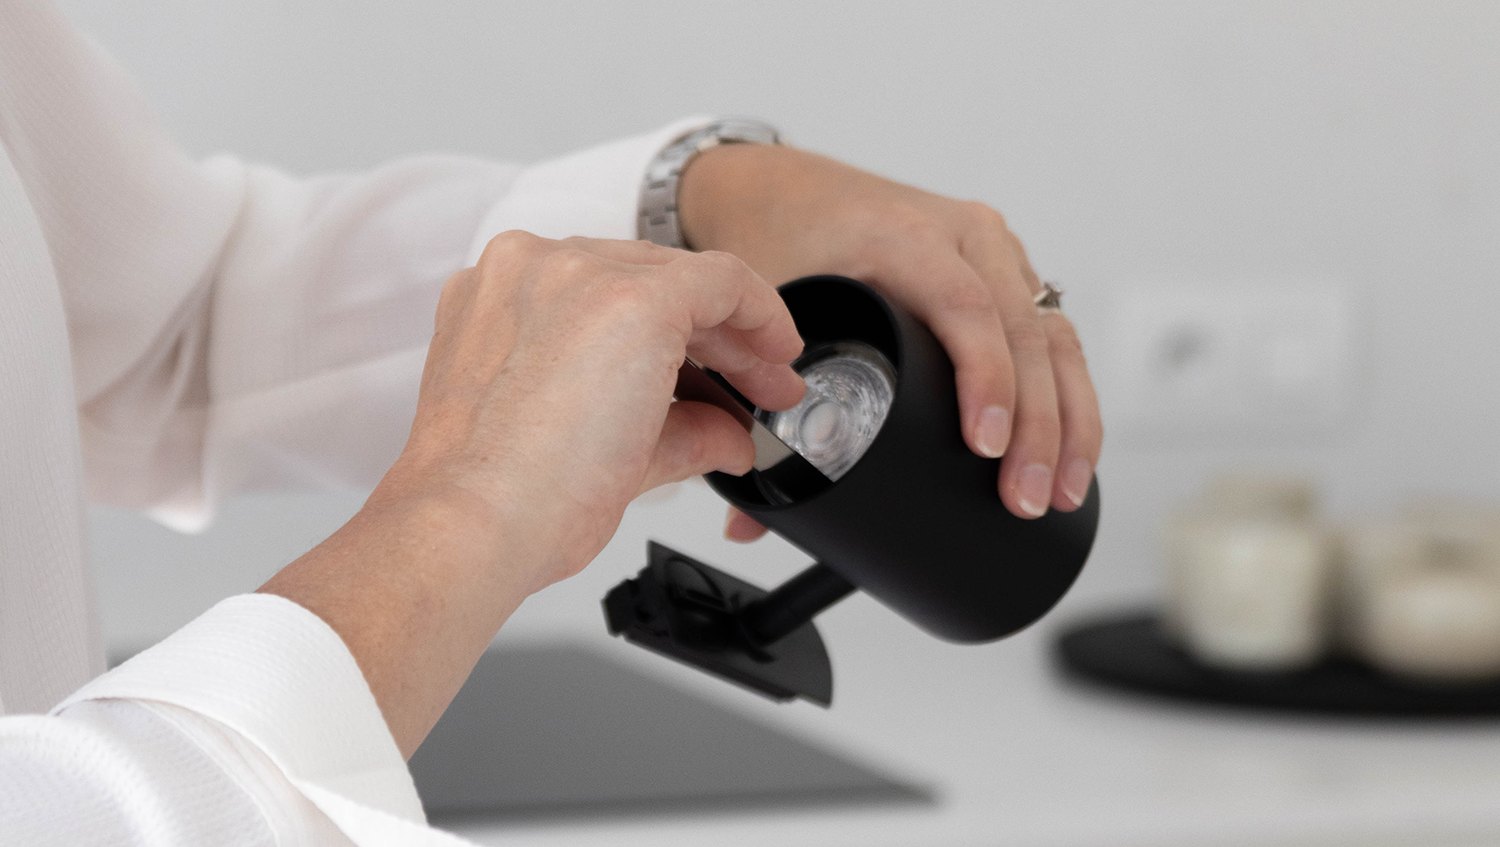
Install the light fixtures on the track. The fixtures should have connectors that snap into the track. You can slide them along the track and adjust them to point in any direction you want. You can also choose our adaptor Lex to add a pendant light.
-
Final result
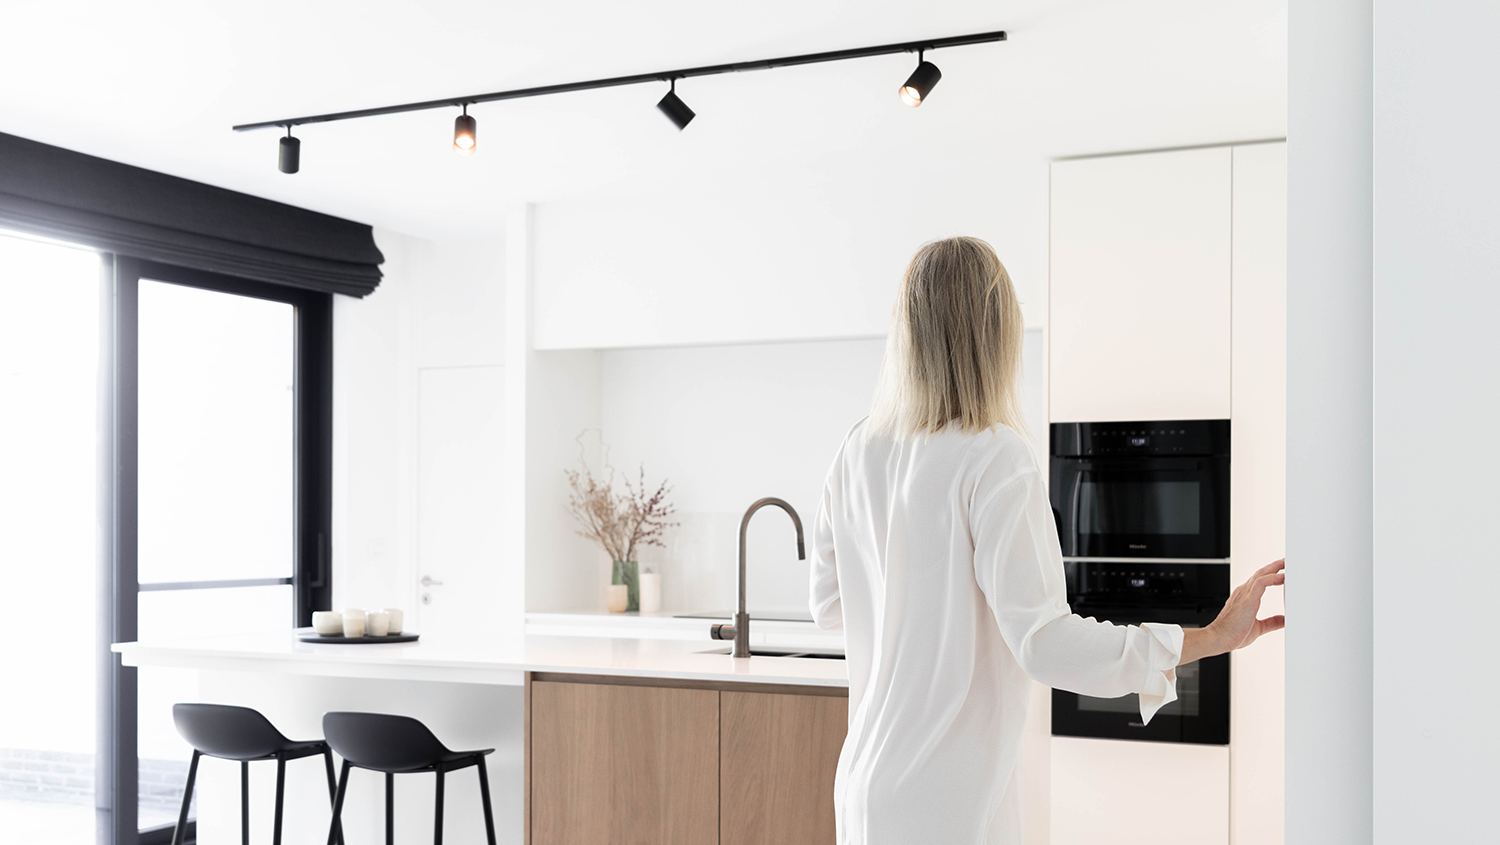
Turn on the power and test your track lighting. Enjoy your new lighting system from Atmooz. You can always adjust to direct the light where you want it.